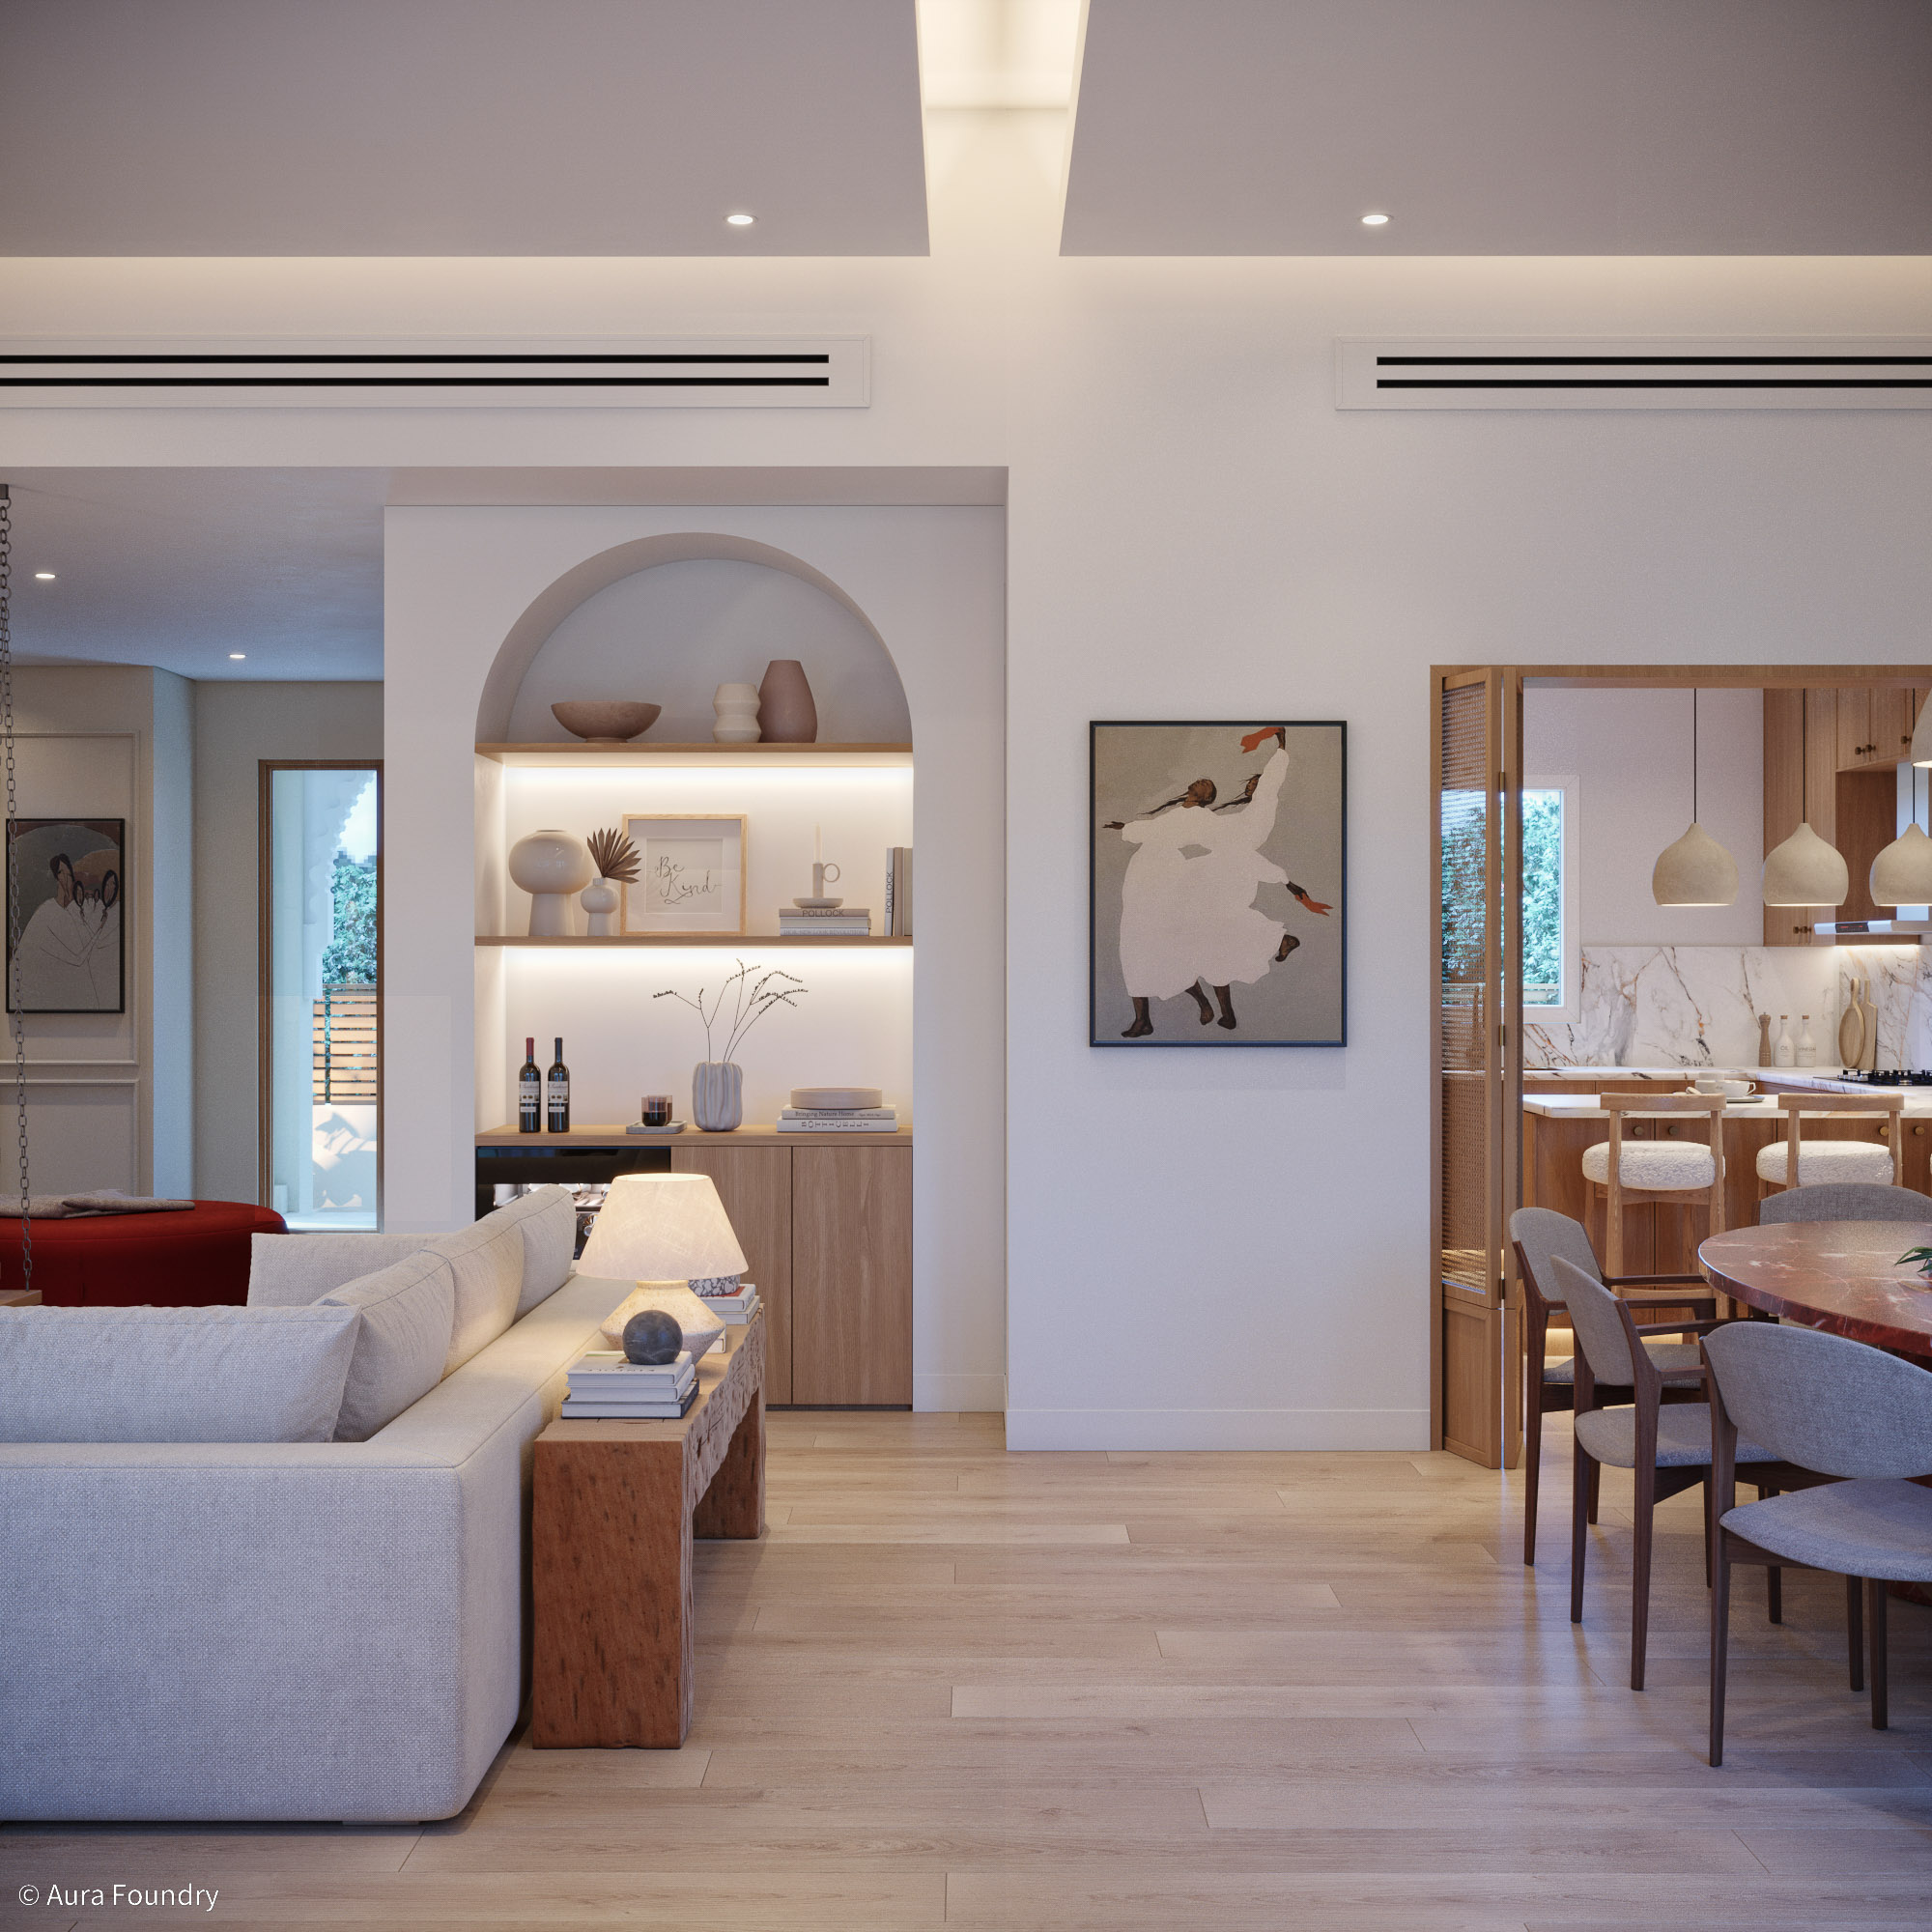
New Possession Interior Design Checklist for Pune Homeowners
20 October 2026 · 7 min read
Guide written and verified by Ali Asgar Shabbir, Principal Designer, Aura Foundry Interiors · Last updated October 2026.
Possession is exciting. It's also the moment when most interior mistakes are made — because homeowners start making decisions before they've done the groundwork. This checklist will walk you through every stage, in sequence, so nothing gets missed and nothing gets committed to too early.
Part 1 — At Handover (Before You Sign Anything)
Walk through the flat before signing the possession letter. Document everything:
- Snagging list — every defect: scratches, chips, uneven flooring, missing fixtures. These are the builder's responsibility before handover.
- Plumbing check — run every tap, flush every toilet, check under-sink connections for leaks. Note any low water pressure.
- Electrical points check — test every switch, socket, and MCB. Confirm AC points are exactly where you need them for your planned layout. Relocating them later costs ₹2,000–₹5,000 per point.
- Measure the apartment — take a tape measure and record all wall lengths, window sill heights, door opening widths, and column positions. These are the foundation of your design brief.
- Note window orientation — which direction does each room face? East-facing gets morning sun. West-facing gets warm evening light. This affects your material choices, palette, and ventilation plan.
- Photograph everything — every room, every angle, before any work starts. Empty-flat photos are your permanent reference point.
Part 2 — Before You Call a Designer
Do this before your first designer conversation:
- Get the floor plan from the builder — a scaled drawing, not the brochure image. The designer needs actual dimensions to do useful work.
- List your non-negotiables — things you absolutely must have: a home office, space for your existing sofa, a dedicated study corner, storage for a specific collection. Write these down.
- List your pain points from your current home — what doesn't work right now? Not enough storage? A kitchen that frustrates you? A bedroom that never feels calm? These pain points are your real brief.
- Collect references — photos that excite you from Instagram, Pinterest, or magazine pages. Don't edit yourself. Even if the references are inconsistent styles, a good designer will find the common thread.
- Agree on a budget range with everyone in the household — a committed number, not a wishful one. A good designer will tell you what's genuinely achievable within it. See our 2 BHK cost guide for realistic benchmark ranges.
- Decide on your move-in date — working backwards from that date determines how quickly the design and execution phases need to start.
Part 3 — During the Design Phase
- Approve the space plan before anything else — the floor plan showing furniture placement and room usage. Every other decision flows from this one.
- Get 3D renders of every key room before approving execution — not optional. What you see in a render is what gets built. Read why 3D renders matter so much here.
- Review the materials specification carefully — every finish, hardware brand, tile, and fabric should be listed and agreed on before any contractor starts work. Vague specs lead to surprises.
- Confirm all electrical points on-site with the designer present — before any electrician starts, walk through every room and mark each point: AC, TV, nightlight, task lighting, charging points. Changing these after plastering is expensive.
- Agree on a milestone-based payment schedule — not an advance-heavy one. Typically: 30% on design approval, 30% on material delivery, 30% on installation, 10% on snag clearance.
Part 4 — During Execution
- No verbal changes — any deviation from the approved design must be documented in writing. Verbal changes lead to misunderstandings, cost disputes, and no accountability when something goes wrong.
- Visit the site at key milestones — after civil work is complete, after carpentry is installed, after painting, and before final installation. Each milestone is a checkpoint.
- Check material deliveries against the specification — before the carpenter installs anything, confirm that what's been delivered matches what was ordered. Brand, finish, and quantity.
- Photograph progress — especially joints, wiring routes, and anything that gets covered up later. If a problem develops after plastering, photographs are your only evidence.
Part 5 — Before You Move In
- Snag the completed work — go through every room with the designer and a written checklist. Document every incomplete or incorrect item before you accept handover.
- Test all installed hardware — every drawer, every hinge, every cabinet, every door. Soft-close should work softly. Handles should be aligned. Nothing should require force to open or close.
- Check all lights and switches — test every circuit. Confirm dimmers are working correctly.
- Run all plumbing again — check every connection that was touched during execution, including under-sink connections and bathroom fittings.
- Confirm warranties are in hand — for kitchen hardware, modular systems, and any installed appliances.
- Deep clean before furniture arrives — especially inside wardrobes and kitchen cabinets. Sawdust in storage is a common issue that's easily avoided.
The One Rule Above All
Design first. Buy nothing until the space plan is approved.
The most expensive mistake in Pune interior design is buying a sofa, a dining table, or a bed before the space plan is done. Once large furniture has been purchased, the design must work around it — and it rarely does perfectly. Give the design process two to three weeks before committing to anything. The delay costs nothing. The alternative costs lakhs.

Book a Free Home Visit & Sketch
We visit your home, spend 60–90 minutes thinking about your space, and leave you with a hand-drawn concept sketch — free, no strings attached.
More Articles
Interior Design for a Rented Flat in Pune — What's Allowed, What's Worth Doing
Renting in Pune doesn't mean living with someone else's taste. Here's what you can change without landlord approval, what to ask for, and what's worth spending on in a rented flat.
Interior Design Mistakes Pune Homeowners Make in the First 30 Days of Possession
The first 30 days after possession are when most interior design decisions go wrong in Pune. Here are the 7 mistakes to avoid — and what to do instead.